Everyday Cooking Made Simple
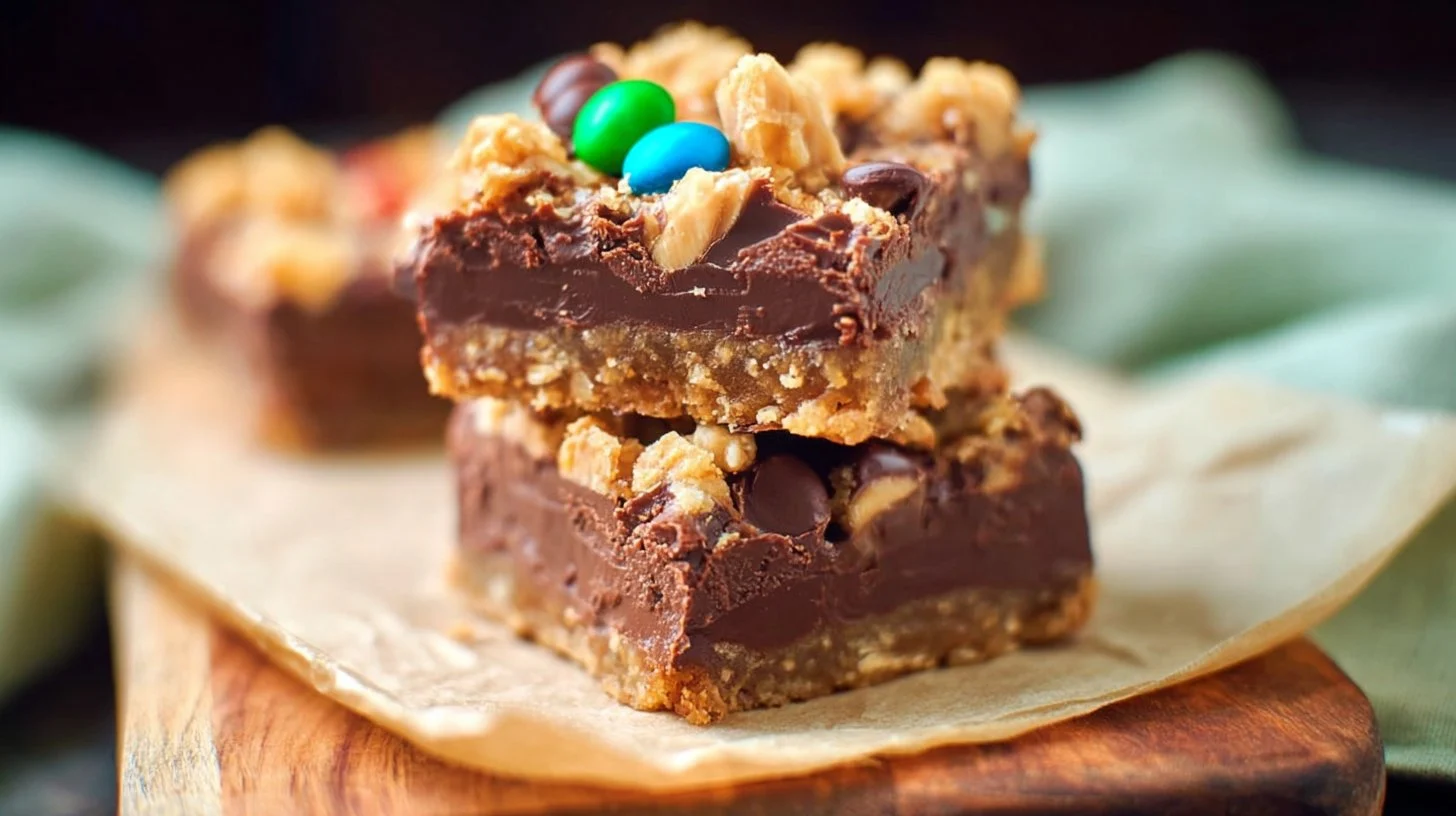
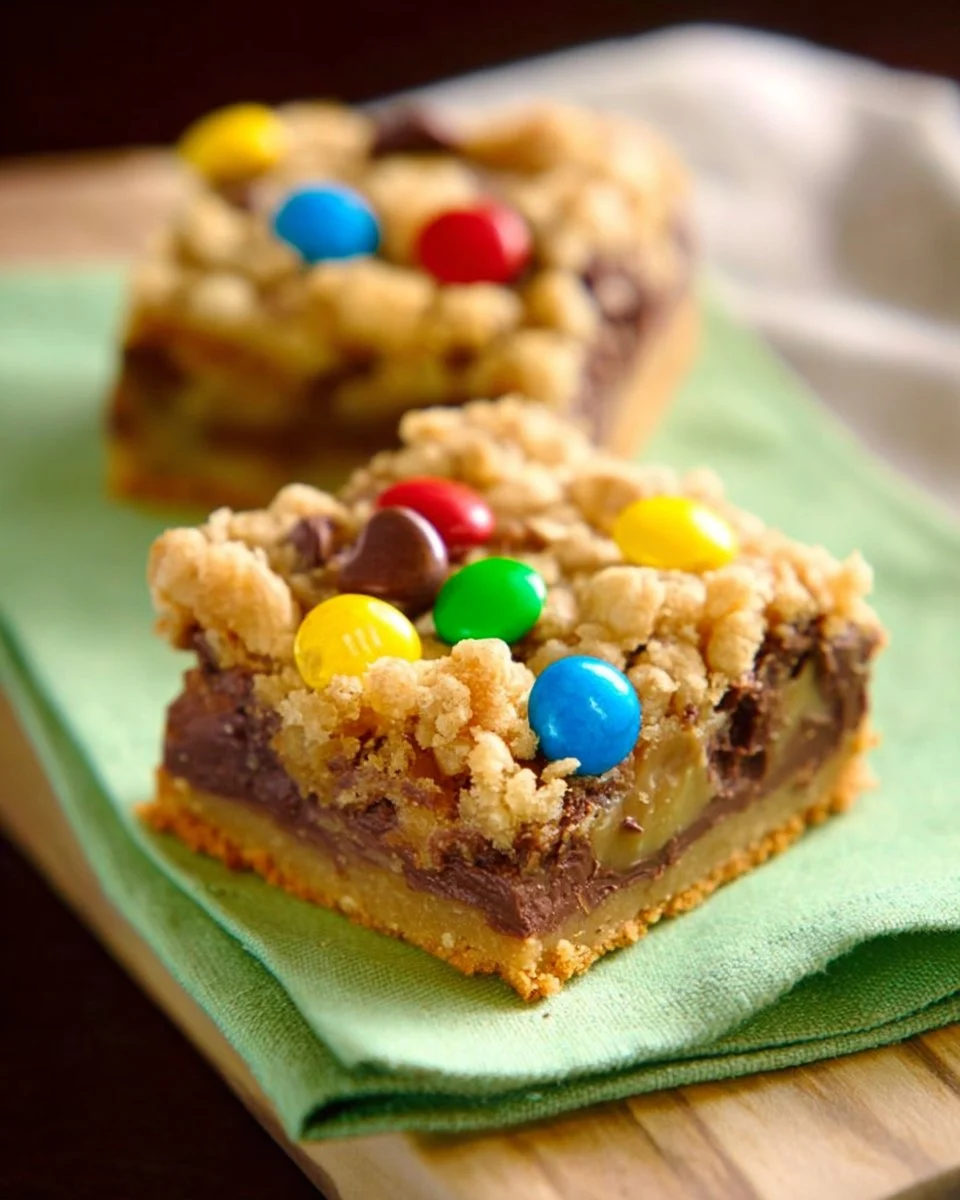
candy fudge bars gives you dense chocolate layers with a clean bar edge when your mixing order and ingredient handling stay controlled from start to finish. You get more dependable results when each stage is treated as a structure step, not a random stir-and-serve routine. This makes every batch easier to repeat with confidence.
Your best outcome comes from reading visual and texture cues instead of rushing through the method. You want clean flavor balance, stable texture, and portions that hold their shape on the plate or in the cup. With a few practical checkpoints, your candy fudge bars can stay consistent across repeated batches.
Why These Candy Fudge Bars Stay Structured
You get stronger results because this formula balances moisture, structure, and finish in one flow. When those parts stay aligned, each serving feels intentional instead of uneven.
The combination also supports both casual meals and guest service. Your chocolate fudge bars and brown sugar fudge bars approach stays practical when ingredient prep is done in clear order.
Small adjustments matter more than extra ingredients. A controlled fold, whisk, or blend often does more for quality than adding another topping.
How to Make This Candy Fudge Bars
Start by preparing core ingredients so you can combine them without delay. This keeps texture stable and reduces overmixing during assembly.
Build the base first, then add delicate ingredients at the point where they hold shape best. That order helps your party dessert bars outcome stay clear in texture and flavor.
Finish with a final check on seasoning and consistency before serving. This last checkpoint gives cleaner balance and better repeatability.
Quick Recipe Overview
What you?ll need: You need the main base ingredients from this recipe, plus the key seasoning and finishing elements that shape aroma and mouthfeel. Each component contributes a specific role in structure, contrast, or flavor clarity.
How it comes together: You prepare the base, combine in stages, and finish with a controlled final fold or blend. This sequence supports a stable easy fudge bar recipe result without forced texture corrections at the end.
Ingredient Insights for Candy Fudge Bars
Base component: This provides the core body and determines whether the final texture feels loose or stable.
Aromatic component: This shapes the top-note flavor and keeps the recipe from tasting flat.
Contrast element: This creates bite variation so each spoonful or forkful stays interesting.
Final seasoning: This locks in balance and helps all components taste integrated instead of separate.
Layer Set Notes
You get better structural consistency when portioning and mixing stay even across the full batch. Uneven distribution often causes weak pockets and inconsistent serving quality.
If one area looks wetter or denser than the rest, pause and correct with a gentle fold rather than heavy agitation. This protects texture and preserves the intended finish.
Texture & Flavor Experience
Your finished candy fudge bars should show clear visual contrast and a stable serving shape. The aroma should open with the dominant ingredient and finish with supportive notes from seasoning and garnish.
Flavor should move in layers instead of hitting as one heavy note. When balance is right, each bite feels complete without masking key ingredients.
Why This Recipe Is Better Than Others
You get more reliable structure than many shortcut versions because this method uses staged assembly. That prevents collapse and keeps serving quality steady.
You also get cleaner flavor definition through controlled sequencing, not random additions. This makes each major ingredient easier to taste and easier to adjust in later batches.
Compared with generic versions, this candy fudge bars approach gives better repeatability and clearer troubleshooting when a batch needs correction.
Ingredients
- 1/2 cup butter
- 1 cup packed brown sugar
- 1 egg
- 1 teaspoon vanilla
- 1 1/4 cups all-purpose flour
- 1/2 teaspoon baking soda
- 1 1/2 cups quick-cooking rolled oats
- 1 14-ounce can sweetened condensed milk
- 2 cups semisweet chocolate pieces
- 2 teaspoons vanilla
- 1 package M&Ms
- 1 package Reese’s Peanut Butter Cups
Directions
- Set aside 2 tablespoons of the butter.
- In a large mixing bowl, beat the remaining butter with an electric mixer on medium speed for 30 seconds.
- Add brown sugar, beat until well mixed.
- Beat in egg and 1 teaspoon vanilla.
- Add dry ingredients and mix until combined.
- In a medium saucepan, combine the reserved butter, sweetened condensed milk, and chocolate pieces.
- Cook over low heat until chocolate melts, stirring occasionally.
- Remove from heat and stir in 2 teaspoons vanilla.
- Press two-thirds of the oat mixture into the bottom of an ungreased square 9×9 baking pan.
- Spread 3/4 of the chocolate mixture over the oat mixture; reserve the other 1/4 for fudge sauce.
- Dot remaining oat mixture over the chocolate.
- Bake in a 350°F oven for about 15 minutes or until the top is lightly browned.
- The bars will not be fully cooked at this point; place in the fridge for at least 12 hours until they hold together.
- After 12 hours, they can be kept out of the fridge.
How to Serve Candy Fudge Bars
Serve in a format that keeps shape and texture visible, whether bowl, plate, glass, or handheld style. Keep final garnish light so the main structure remains clear.
For a natural internal pairing on your site, you can serve this with grandmas creamy lemon pie for a complementary menu flow. For broader context, you can check fudge style basics.
Variation
You can adjust the profile by changing one supporting ingredient while keeping the base ratio stable. This keeps the recipe recognizable and dependable.
A second variation path is texture-focused: shift one topping or mix-in to create a softer or crisper finish without changing the full method.
Tips to Make Candy Fudge Bars
- Prepare all components before final assembly.
- Keep the base texture controlled before adding delicate elements.
- Use gentle folds when structure matters.
- Taste and correct seasoning in small steps.
- Keep serving format consistent for cleaner presentation.
- Use final garnish to support, not hide, core flavor.
- Store leftovers in sealed containers to preserve texture.
Common Mistakes to Avoid
Symptom: Texture collapses quickly. Cause: Overmixing or weak sequencing. Fix: Rebuild with staged mixing and lighter handling.
Symptom: Flavor feels flat. Cause: Under-seasoned base or uneven distribution. Fix: Correct in small additions and retaste before serving.
Symptom: Portions look uneven. Cause: Inconsistent assembly. Fix: Standardize scoop size, fold style, and plating order.
If one section looks denser than the rest, redistribute gently before serving rather than adding extra liquid or fat immediately.
Storing Tips
Store in airtight containers in the refrigerator for up to 3 days when texture is best preserved in this category.
For longer holding, freeze only if the recipe structure supports freezing; use sealed portions for up to 1 month and thaw under refrigeration before serving.
Before serving leftovers, check texture first and adjust with a small corrective fold, whisk, or stir if needed.
FAQs
Can candy fudge bars be prepared ahead?
Yes. Prep core elements early, then finish the final assembly stage close to serving for better texture control.
How do you keep chocolate fudge bars consistent across batches?
Use the same portioning and sequencing each batch, and avoid last-stage overmixing.
What helps brown sugar fudge bars keep clean flavor balance?
Adjust seasoning in small steps and retaste after each correction so no single note dominates.
Can party dessert bars be served in different formats?
Yes. Keep the core method fixed and adapt serving style based on occasion and portion size.
Why does easy fudge bar recipe change after storage?
Moisture migration and settling can shift texture, so a small final adjustment is often needed before serving.
What is the easiest way to improve the next candy fudge bars batch?
Record one texture cue and one flavor cue after each batch, then adjust only one variable per cycle.
Pan Test Observation
Across repeated kitchen batches, the strongest improvement came from controlling the final fold instead of extending active mixing. This reduced texture breakdown and improved serving consistency. The structural reason is simple: lower mechanical stress preserves ingredient boundaries and keeps the final matrix stable.
Conclusion
candy fudge bars becomes reliable when you treat sequencing, texture cues, and final adjustment as one connected workflow. With those controls in place, you get stronger flavor clarity and cleaner presentation in every batch. This makes the recipe practical for both everyday use and guest serving.

Candy Fudge Bars
These Candy Fudge Bars feature dense chocolate layers with a clean bar edge, ensuring consistent texture and flavor balance in every batch.
Ingredients
Method
Preparation
- Set aside 2 tablespoons of the butter.
- In a large mixing bowl, beat the remaining butter with an electric mixer on medium speed for 30 seconds.
- Add brown sugar, beat until well mixed.
- Beat in egg and 1 teaspoon vanilla.
- Add dry ingredients and mix until combined.
Fudge Mixture
- In a medium saucepan, combine the reserved butter, sweetened condensed milk, and chocolate pieces.
- Cook over low heat until chocolate melts, stirring occasionally.
- Remove from heat and stir in 2 teaspoons vanilla.
Assembly
- Press two-thirds of the oat mixture into the bottom of an ungreased square 9x9 baking pan.
- Spread 3/4 of the chocolate mixture over the oat mixture; reserve the other 1/4 for fudge sauce.
- Dot remaining oat mixture over the chocolate.
Baking
- Bake in a 350°F oven for about 15 minutes or until the top is lightly browned.
- The bars will not be fully cooked at this point; place in the fridge for at least 12 hours until they hold together.
- After 12 hours, they can be kept out of the fridge.
Notes
Prepare all components before final assembly. Use gentle folds when structure matters. For better presentation, serve in a way that maintains the shape and texture.