Everyday Cooking Made Simple
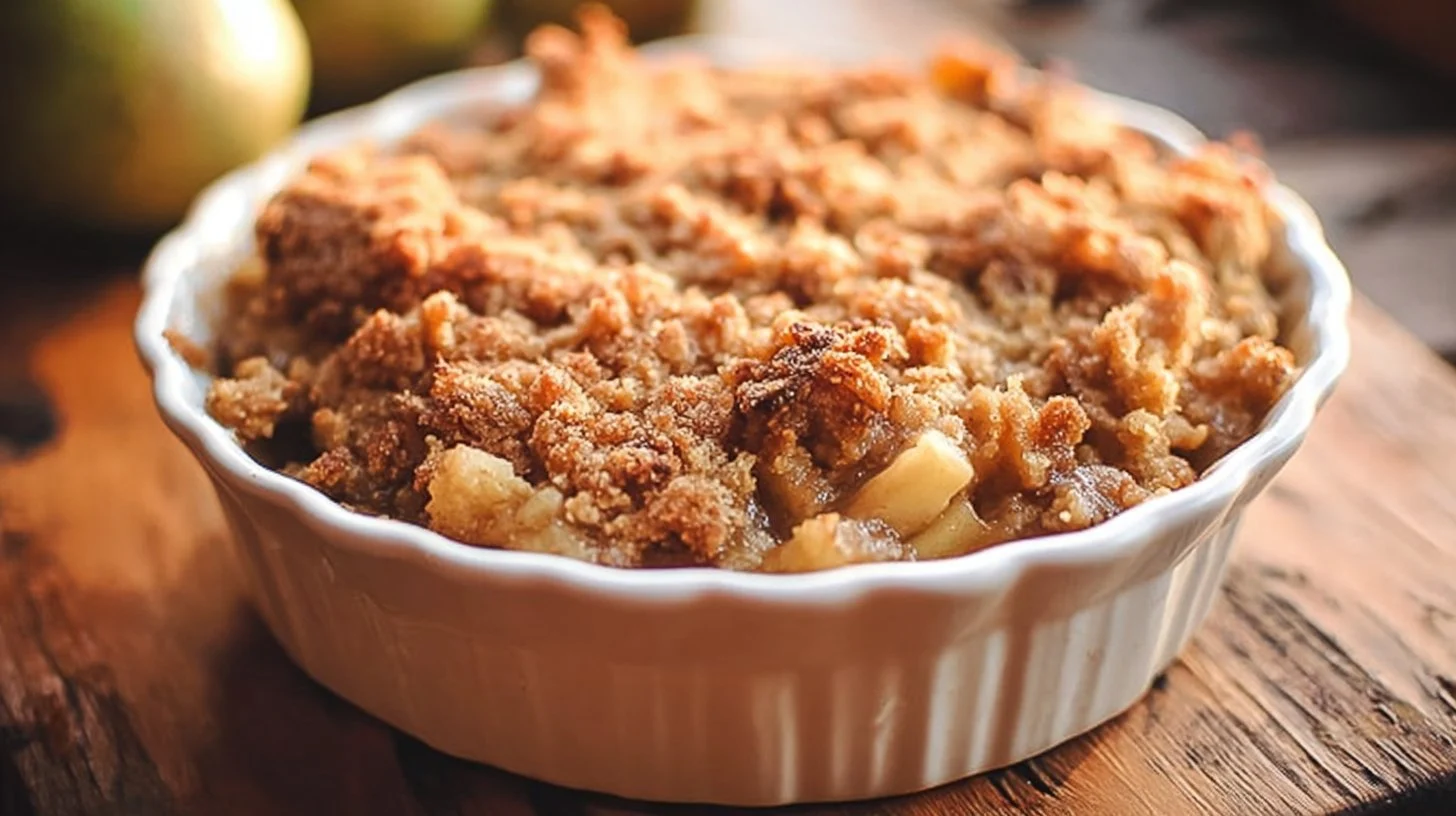
Apple Crisp is a straightforward, comforting dessert that balances tender baked apples with a crunchy oat and brown sugar topping. You get warm, caramelized fruit and a crisp, buttery top in a single pan that cooks in about 30 minutes.
Many home cooks search for this Classic Apple Crisp recipe because it uses pantry staples and comes together quickly. It solves the need for a reliable dessert for weeknights, potlucks, or casual gatherings without complicated steps.
Why Make This Recipe
This recipe is easy to prepare and uses ingredients you likely already have on hand. The topping mixes quickly in one bowl, and the apple filling only needs a light toss with flour and sugar.
Total hands-on time is short, and the bake time fits well into a busy evening. It’s suitable for last-minute desserts, autumn dinners, and simple holiday sides.
Because the components are flexible, you can swap apple varieties or adjust sweetness. The result is a dependable baked apple crisp with a crisp, oat-rich topping.
How to Make Classic Apple Crisp
The approach relies on mixing the fruit with a small amount of flour and sugar so juices thicken slightly while baking. The topping combines butter, oats, flour, brown sugar, and a pinch of salt to create a crumbly layer that becomes golden and crisp.
This method works because the oat mixture absorbs some of the apple juices as it bakes, producing a textural contrast between soft apples and a crunchy top. The bake time is short enough to keep apples tender but not mushy.
Ingredients
- 4 cups sliced or diced apples
- 1 tablespoon flour
- 1/2 cup sugar
- 3/4 cup brown sugar
- 1/3 cup butter
- 3/4 cup oatmeal
- 3/4 cup flour
- 1/4 teaspoon baking soda
- 1/2 teaspoon salt
Directions
- Preheat oven to, 350.
- Combine the first three ingredients and place in a greased 8×8 baking dish.
- Combine the remaining ingredients and sprinkle over the top of the apple mixture.
- Bake 30 minutes at, 350.
- Serve warm with whipped cream or ice cream, or drizzled with caramel or honey.
- Refrigerate leftovers.
How to Serve Classic Apple Crisp
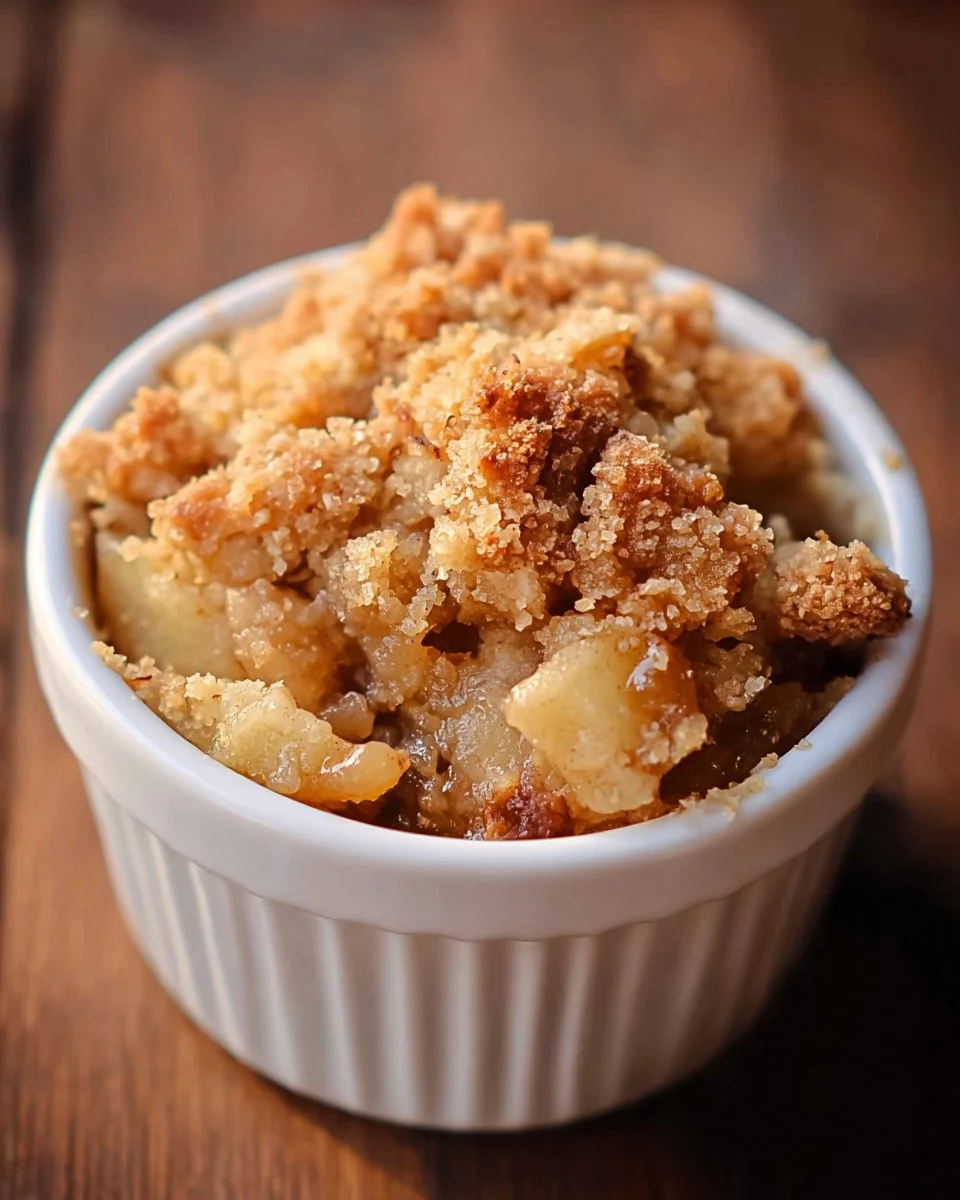
Serve this apple crisp warm for best texture contrast. A scoop of vanilla ice cream or a dollop of whipped cream melts into the topping and adds creaminess.
For gatherings, plate individual portions with a drizzle of caramel sauce or a sprinkle of chopped toasted nuts. Offer warmed fruit sauces or extra honey on the side for people who prefer a sweeter finish.
Pair with hot beverages like black tea, coffee, or a mild spiced cider to complement the baked apple flavors.
(If you enjoy warm apple desserts, you might also like a seasonal pancake variation such as cinnamon apple carrot pancakes which use similar spices and fruit notes.)
How to Store Classic Apple Crisp
Cool the crisp completely before storing to prevent sogginess. Keep leftover portions in an airtight container in the refrigerator for up to 4 days.
For longer storage, freeze individual portions in freezer-safe containers for up to 3 months. Thaw in the refrigerator overnight and reheat in a 350°F oven for 10–15 minutes to restore crispness.
Avoid leaving the apple crisp at room temperature for more than two hours to maintain food safety and texture.
Tips to Make Classic Apple Crisp
Start with this short note: small adjustments improve texture and flavor.
- Use a mix of sweet-tart apples for balanced flavor.
- Cut apples uniformly so they cook evenly.
- Toss apples with the tablespoon of flour to slightly thicken juices as they bake.
- Chill the butter briefly before grating or cutting it into the topping for better crumble.
- Toast the oats lightly in a skillet for a nuttier topping before mixing.
- Press half the topping into the pan for a sturdier base under the apples.
- Bake on the middle rack to prevent the topping from browning too quickly.
- Let the crisp rest 5–10 minutes after baking so juices set slightly before serving.
Common Mistakes to Avoid
A common mistake is using apples that are too soft; they break down completely and become mushy. Choose firmer varieties and slice them evenly to maintain structure.
Another issue is an overly wet filling. Avoid adding extra liquid and use the flour measure as given so the topping can absorb juices without becoming soggy.
Variations
For a nuttier version, fold 1/2 cup chopped pecans or walnuts into the topping. To make it spiced, add 1/2 teaspoon cinnamon and 1/8 teaspoon nutmeg to the apple mixture. For a gluten-free option, substitute equal parts gluten-free oats and a gluten-free flour blend.
FAQs
What apples are best for an apple crisp?
Firm apples like Granny Smith, Honeycrisp, or Braeburn hold their shape and provide a balance of sweetness and tartness.
Can I make this ahead of time?
Assemble the apples and topping separately, then refrigerate for up to 24 hours. Combine and bake when ready.
Will the topping stay crunchy after refrigeration?
Topping softens in the fridge. Reheat in the oven at 350°F for 10–12 minutes to restore crispness.
Can I use quick oats instead of old-fashioned oats?
Quick oats will work but give a less toothsome texture. Old-fashioned oats provide the best chew and structure.
Is this recipe freezer-friendly?
Yes. Freeze baked portions in airtight containers for up to 3 months. Reheat from frozen in a low oven until hot.
How can I reduce the sugar without losing texture?
Cut the granulated sugar by up to 1/4 cup and keep the brown sugar for the topping to maintain caramel flavor.
Can I add other fruits with the apples?
You can add pears or berries, but adjust sugar slightly for fruit sweetness and be mindful of extra liquid.
What’s the best way to reheat single servings?
Warm in a 350°F oven for 8–12 minutes, or microwave briefly and crisp the topping under a broiler for a minute if needed.
Conclusion
For a reliable take on a warm, comforting dessert, this recipe delivers a classic apple crisp you can make any night; for another simple classic take on apple desserts you can compare techniques with the Old Fashioned Easy Apple Crisp recipe.