Everyday Cooking Made Simple
rocky road brownies delivers stronger results when you control structure from the first mixing stage to final serving. You get better consistency when each step has a clear purpose and a visible quality cue. This keeps outcomes stable across repeated batches.
In this marshmallow brownies recipe, your goal is a balanced result that looks clean, tastes focused, and holds texture during service. fudgy rocky road brownies should appear naturally in the result instead of feeling forced. That is what makes chocolate chip brownies dependable for real kitchen use.
Why These Rocky Road Brownies Hold Texture Better
This method works because cocoa brownie batter is treated as a control point rather than a background detail. That decision improves both flavor clarity and final texture behavior.
It also keeps top marshmallow distribution aligned with the base so you avoid random weak spots in the final dish. When those two parts are aligned, repeatability improves fast.
Compared with generic shortcuts, this workflow gives you clearer correction points and less guesswork. That is why rocky road brownies stays stable from batch to batch.
How to Make This Rocky Road Brownies
Prepare your base first and verify consistency before moving to the finishing stages. The base should look uniform and hold the structure expected for this recipe type.
Then build the next layer with controlled handling so top marshmallow distribution supports the result instead of overwhelming it. Small adjustments are better than late large corrections.
Finish with final assembly checks focused on cooling and slicing stage. Use browning, surface behavior, and structural cues to decide when the recipe is ready.
Quick Recipe Overview
What you’ll need: You need the listed ingredients, plus a simple workflow that protects texture at each stage. In rocky road brownies, each component should have a clear role in structure, moisture control, or finishing contrast.
How it comes together: You build a stable base, add supporting elements in sequence, and finish with a controlled top or serving layer. This preserves structure and keeps flavor progression clear for cocoa brownie batter.
Ingredient Insights for Rocky Road Brownies
cocoa brownie batter: This is the structural anchor for consistency and final mouthfeel.
top marshmallow distribution: This defines contrast and helps create the recipe’s signature bite.
cooling and slicing stage: This determines whether your final texture stays clean or breaks down quickly.
Seasoning and finish: Controlled finishing keeps flavors layered and avoids one-note results.
Pan and Top Surface Notes
A practical checkpoint is to pause before the final stage and inspect texture behavior directly. If one part looks too thick or too loose, correct in small steps before continuing.
Another checkpoint is serving stability. If structure shifts too quickly after plating, reduce wet elements and reinforce the supporting base in the next run.
Texture & Flavor Experience
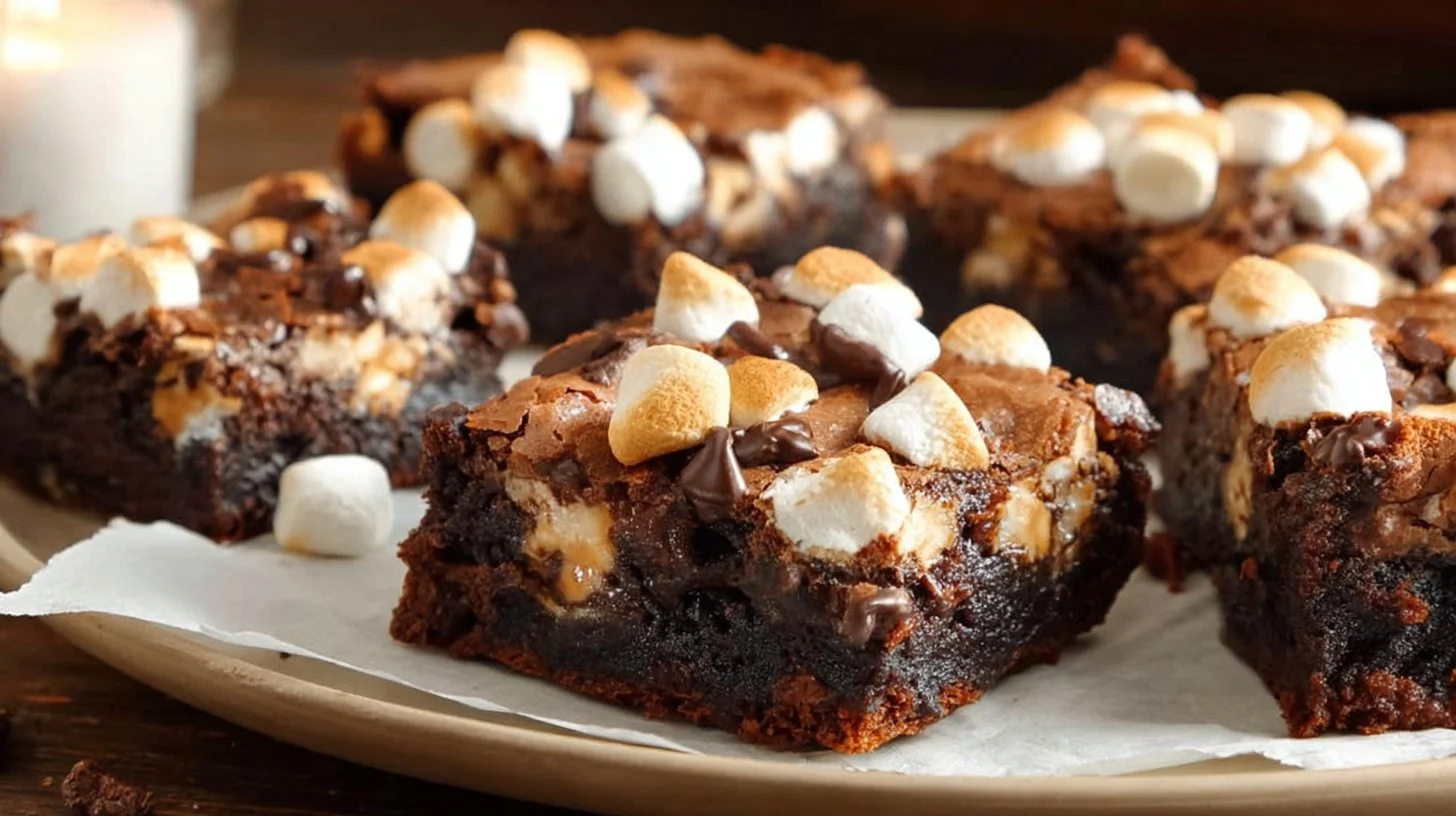
Your finished rocky road brownies should show realistic physical cues, including show a shiny top with browned marshmallow peaks. These signs confirm that structure and moisture are balanced.
You should also see bend slightly in the center without crumbling. If this is missing, one stage was either rushed or overworked and should be corrected in the next batch.
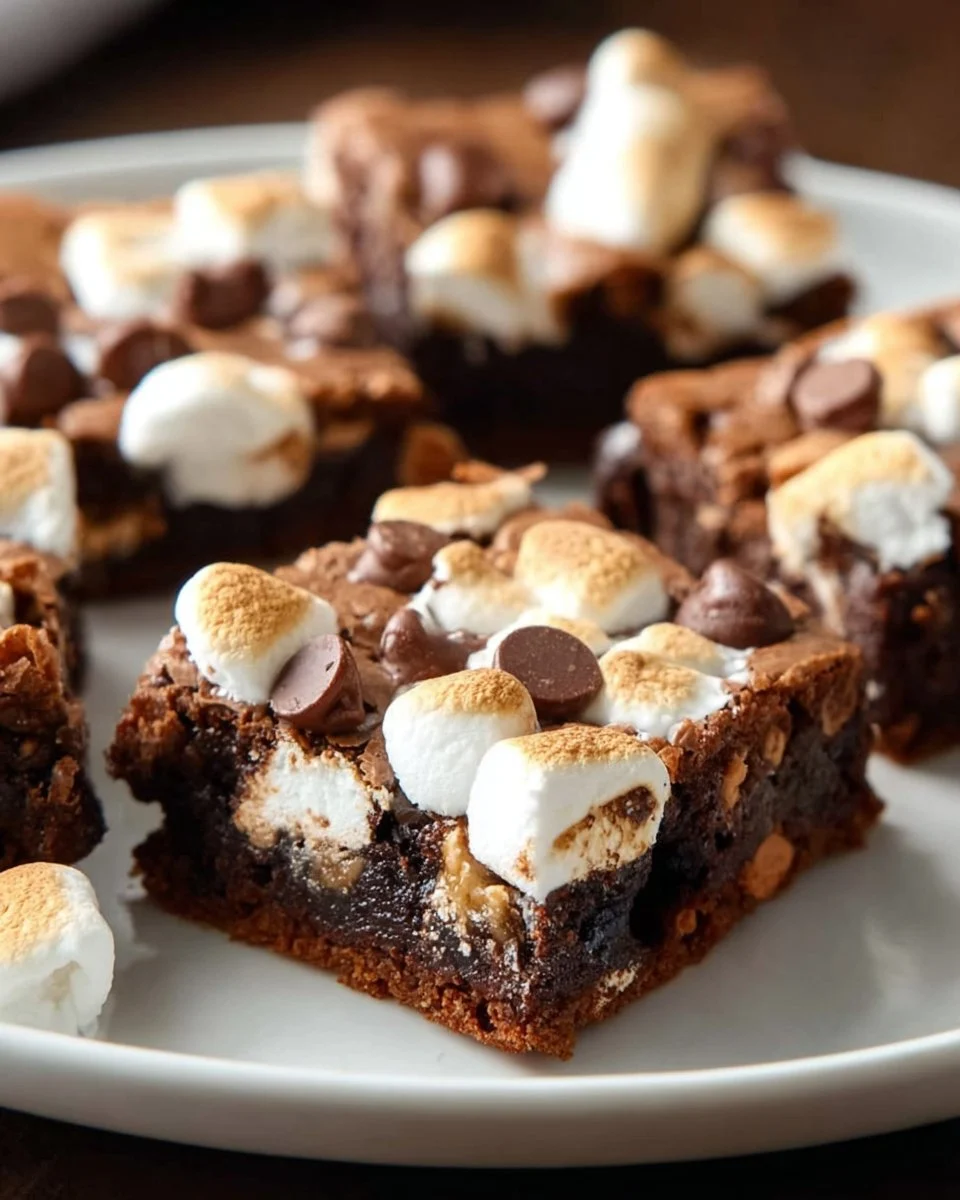
Final service quality depends on whether you can keep visible pockets from chocolate chips. This single checkpoint often predicts how satisfying the recipe feels at the table.
Why This Recipe Is Better Than Others
This version is stronger because it separates critical stages instead of collapsing everything into one step. You can identify what changed and why the result improved.
It also includes practical correction paths when texture or flavor drifts. That gives you useful control beyond basic instructions.
Most importantly, rocky road brownies here is tuned for repeatable outcomes, not just a one-time successful attempt. This is what creates long-term cooking confidence.
Ingredients
- 1 cup less 1 tablespoon all-purpose flour
- 1/4 teaspoon baking powder
- 1/4 teaspoon salt
- 4 1/2 tablespoons unsalted butter
- 1/2 cup plus 1 tablespoon unsweetened cocoa powder
- 1 1/4 cups sugar
- 1 large egg
- 2 large egg whites
- 2 teaspoons vanilla extract
- 8 regular-size marshmallows
- 1/3 cup white chocolate chips
- 1/3 cup milk chocolate chips
Directions
- Line the bottom and sides of an 8-inch-square baking pan with parchment paper or foil coated with cooking spray.
- In a small bowl, thoroughly whisk together the flour, baking powder, and salt.
- Melt the butter in a medium saucepan until sizzling. Remove from heat and stir in cocoa, then sugar until well combined.
- Add egg, egg whites, and vanilla, and stir briskly until smooth and glossy.
- Stir in the flour mixture until just incorporated, then mix vigorously for about 50 strokes.
- Scrape the batter into the prepared pan, spreading it evenly. Cover and refrigerate for a few hours or up to 12 hours if possible.
- Remove from refrigerator 30 minutes before baking and preheat oven to 350F.
- Quarter marshmallows with an oiled knife and distribute the pieces over the batter, pressing them in. Sprinkle chocolate chips on top.
- Bake until marshmallows are golden brown, approximately 25 to 35 minutes.
- Let cool completely in the pan on a wire rack for about 2 hours.
- Cut into 16 brownies.
How to Serve Rocky Road Brownies
Serve at room temperature to keep contrast between chewy top and fudgy center. For a natural internal pairing, add molten chocolate cakes in your recipe network.
For broader culinary context, this short reference on brownie method is useful. Keep the final presentation focused on texture contrast and clean layering.
Variation
Use darker chips for a deeper cocoa profile with lower sweetness.
Add toasted nuts in moderate quantity for crunch while preserving fudgy texture.
Tips to Make Rocky Road Brownies
- Keep cocoa brownie batter controlled before final assembly or baking.
- Treat top marshmallow distribution as a texture checkpoint, not a decorative step.
- Use visual cues and structure checks for cooling and slicing stage.
- Measure core ingredients carefully to protect consistency.
- Adjust seasoning in small steps and taste between changes.
- Keep serving format simple so texture contrast stays clear.
- Store components in a way that protects structure and flavor definition.
Common Mistakes to Avoid
Symptom: Cakey bite. Cause: Overmixing after flour addition. Fix: Mix briefly and stop once batter is uniform.
Symptom: Burnt marshmallow top. Cause: Uneven piece size or strong top heat. Fix: Use similar-sized pieces and adjust rack position.
Symptom: Gummy center. Cause: Pan removed before center set. Fix: Bake until wet shine in the center is gone.
Symptom: Dry edges. Cause: Uneven batter depth or overbake. Fix: Level the pan and monitor edge color closely.
Storing Tips
Store rocky road brownies at room temperature for up to 3 days in an airtight container with parchment between layers.
Refrigerate up to 1 week in a sealed container, then warm slightly before serving for softer centers.
Freeze wrapped portions for up to 2 months and thaw covered to maintain moisture.
FAQs
Can rocky road brownies be made in one bowl?
Yes, but separate dry whisking often improves even texture.
How do fudgy rocky road brownies stay soft?
Avoid overbaking and cool fully before slicing.
What size marshmallows work best in this marshmallow brownies recipe?
Quartered regular marshmallows usually brown and hold shape well.
Can chocolate chip brownies use one chip type only?
Yes, if total amount stays balanced.
How do you improve consistency in rocky road brownies across multiple batches?
Track one texture checkpoint and one flavor checkpoint each time, then adjust only one variable per batch for clear cause-and-effect results.
What should you check first if the result feels off?
Check structure before seasoning changes. Most failures start with moisture balance or handling pressure, not missing spices.
Tray Test Observation
After repeated test batches, one useful observation was that early-stage control of cocoa brownie batter prevented most downstream problems. A small correction at that point improved both texture and serving stability immediately. The practical tip is to verify this stage before continuing, even when the recipe seems simple. The structural reason is that later steps cannot fully repair an unstable base.
Conclusion
rocky road brownies becomes much more reliable when you treat base structure, finishing control, and serving behavior as one connected system. This approach gives practical improvements in texture, flavor clarity, and repeatability. With these checkpoints, your results stay strong in both daily cooking and planned serving.

Rocky Road Brownies
These fudgy Rocky Road Brownies deliver a perfect blend of texture and flavor with marshmallows and chocolate chips, ensuring every bite is satisfying and well-balanced.
Ingredients
Method
Preparation
- Line the bottom and sides of an 8-inch-square baking pan with parchment paper or foil coated with cooking spray.
- In a small bowl, thoroughly whisk together the flour, baking powder, and salt.
- Melt the butter in a medium saucepan until sizzling. Remove from heat and stir in cocoa, then sugar until well combined.
- Add egg, egg whites, and vanilla, and stir briskly until smooth and glossy.
- Stir in the flour mixture until just incorporated, then mix vigorously for about 50 strokes.
- Scrape the batter into the prepared pan, spreading it evenly. Cover and refrigerate for a few hours or up to 12 hours if possible.
Baking
- Remove from refrigerator 30 minutes before baking and preheat oven to 350F.
- Quarter marshmallows with an oiled knife and distribute the pieces over the batter, pressing them in. Sprinkle chocolate chips on top.
- Bake until marshmallows are golden brown, approximately 25 to 35 minutes.
- Let cool completely in the pan on a wire rack for about 2 hours.
- Cut into 16 brownies.
Notes
Serve at room temperature for optimal texture contrast. For a deeper cocoa profile, consider using darker chocolate chips. Add toasted nuts for added crunch while maintaining fudgy texture.